
Felines are great self-groomers, but one area they can't groom is their ears. Knowing how to clean your cat's ears is a vital skill fur parents should take the time to learn. Being able to clean your cat's ears at home also enables you to detect any health issues your cat might have, such as built-up debris, ear mites, and infections.
Instructions for Ear Cleaning in Cats
Most cats are OK without ear cleaning, but for cats prone to wax build-up and ear infections, it is an essential part of your cat's hygiene.
Let's Start With The Supplies You'll Will Need
Before learning how to clean your cat's ears, you have to have the materials with you. Once you start, you'll want everything within arm's reach.
- Cotton pads, cotton balls, or Q tips
- Ear cleaner specially created for cleaning feline ears
- Depending on your cat, a towel or blanket to wrap them around with
We also suggest you speak to your veterinarian before buying a cleaning solution to use in cleaning your cat's ears. Astringents such as vinegar, alcohol, and even hydrogen peroxide can hurt a cat's delicate ears.
How to Clean Your Cat's Ears

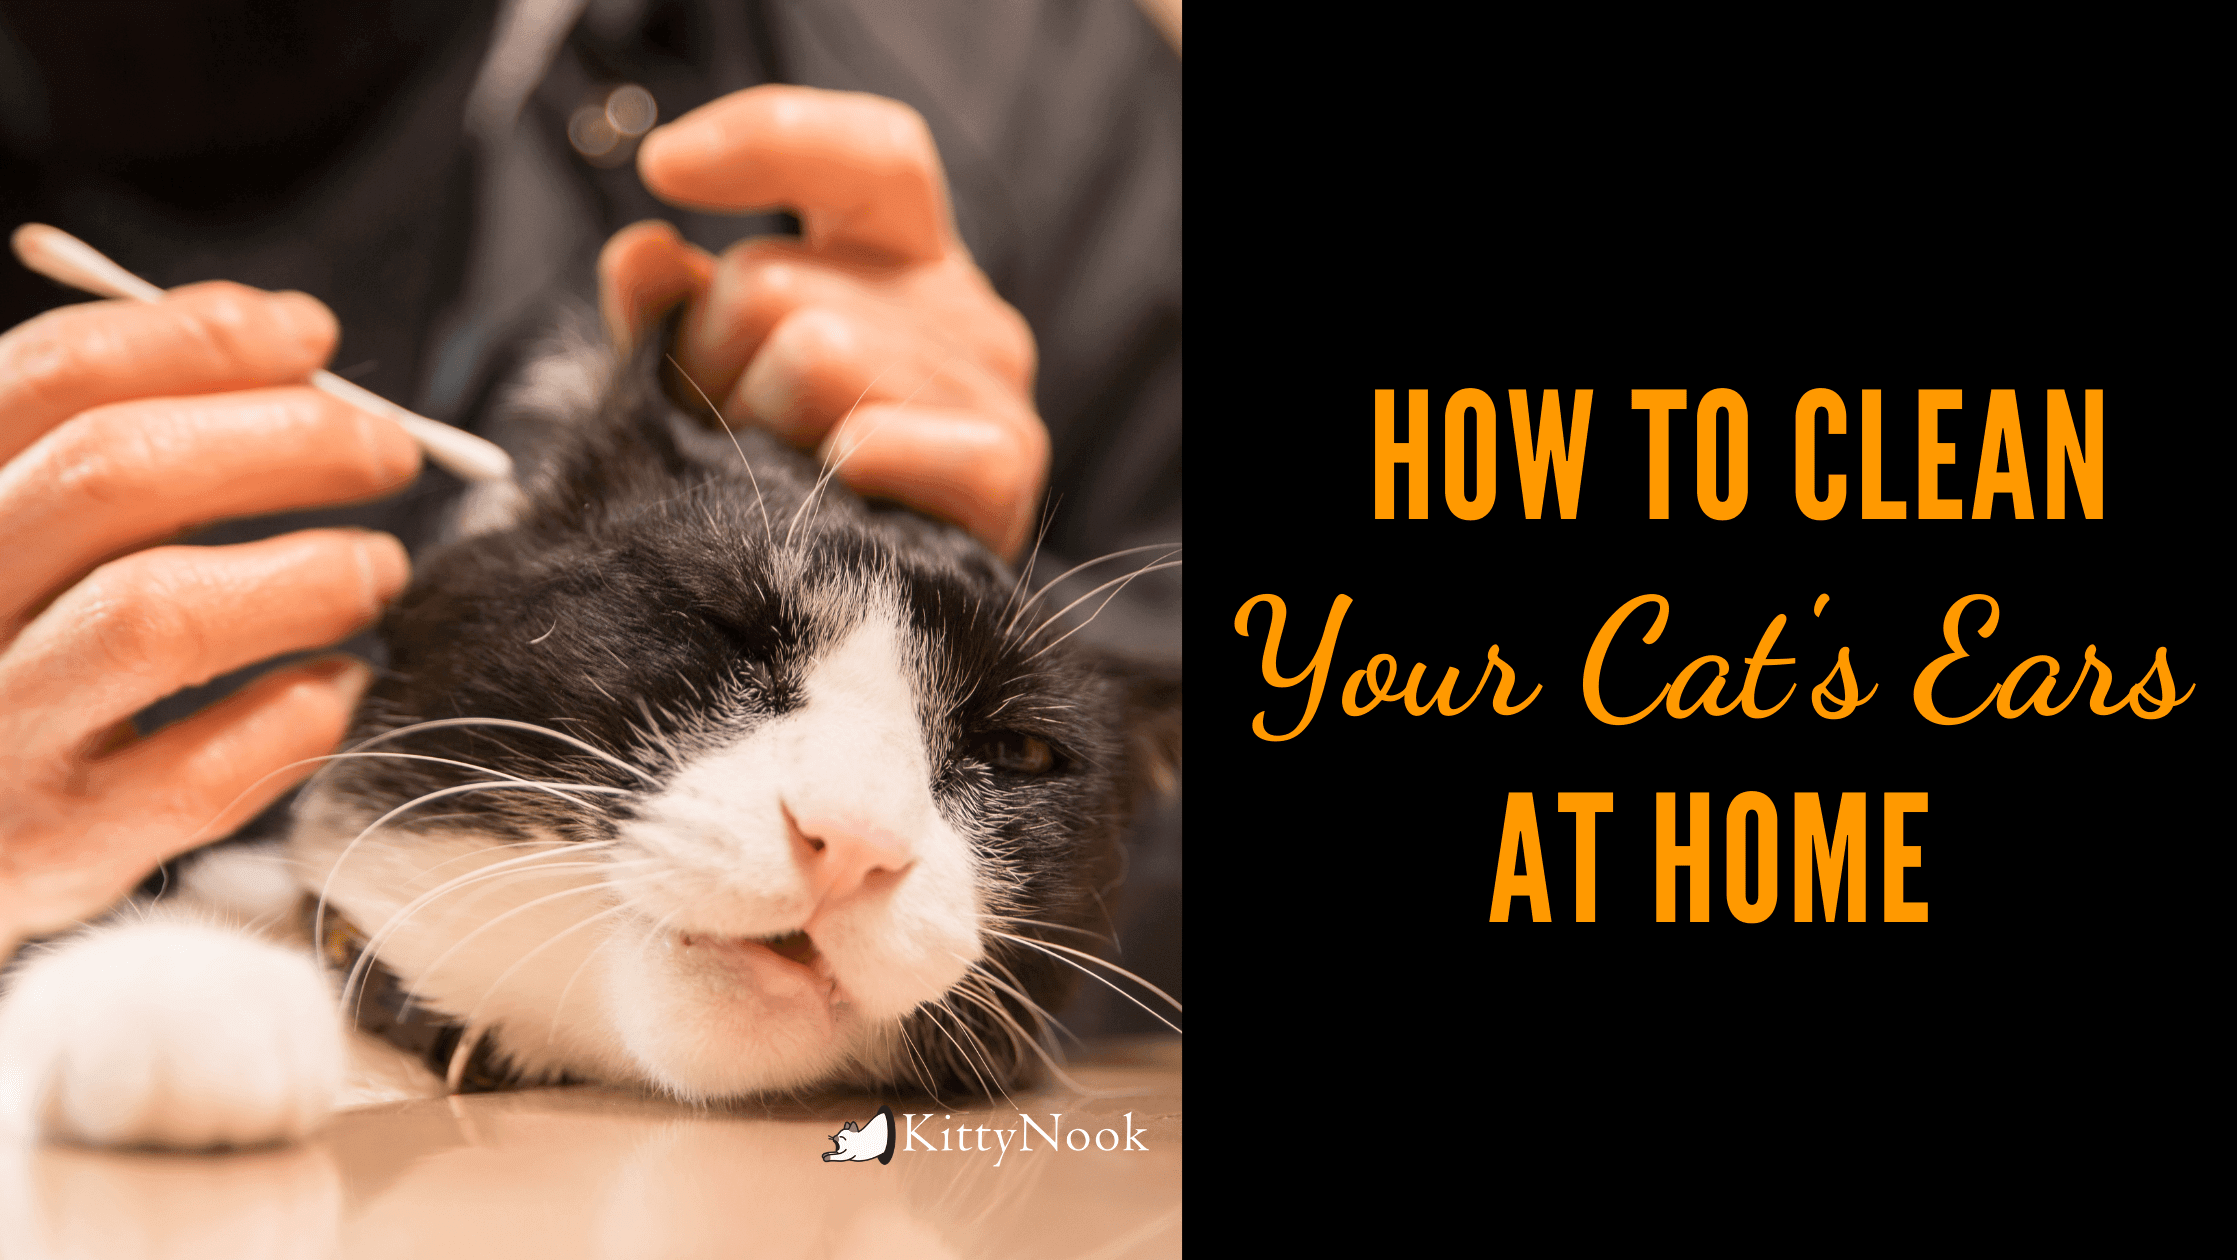
- Put the cat in your lap and gently hold them in place. If your cat does not like cuddles, you can use a towel to secure your cat in place. Grab your cat and wrap them in a towel before placing them on your lap. If you have someone who can help, they can hold your cat while you clean the ears or vice versa.
- If your cat is vocalizing or is looking at you with those eyes that say, "What are you doing to me?" gently talk to them. Use a soft and relaxing voice and shower them with assuring gestures. Do this throughout the ear cleaning session. You can also do this after, so your cat will not associate the activity with negative interaction.
- Check your cat's ears for ear mites, which appear as small brown or red spots. Observe for any inflammation, discharge, or built-up wax. Take note of foul smells and skin-related issues such as bumps, lesions, scratches, etc. All of which may be a sign of an ear infection. If these indications are present, talk to your veterinarian as soon as possible for guidance.
- If your feline's ears pass the visual and sniff tests, you are now ready to proceed with cleaning. Carefully pull back their ear flap, which is also called the pinna. If you are alone, use one hand to fold the ear flap back gently and use your other hand to hold the ear cleaning solution container.
- Hold the container of ear cleaning solution near to your feline's ear. However, avoid touching the tips of your container to the cat's ear. If this happens, wipe with alcohol before proceeding. This will help reduce the chance of germs and yeast spreading, which are the common causes of ear infections.
- Carefully put a few drops of cleaner in each ear. Gently massage your cat's ears, especially the base part. This is to make sure that the products get to the nook and crannies of the ear. The ear cleaner helps to loosen up the debris, making the process of removing them less complicated.
- Your cat is going to shake its head when the cleaner goes inside their ear canal. Some ear cleaning solution will spray out in the process. This is OK. Some cleaner fluid on your cat's fur will not cause them any harm.
- Use the cotton pad or cotton ball to wipe out the debris off your cat's ear swiftly. Remember to not place anything, including your finger, into your feline's ear canal.
- Repeat the process on the other ear. If, at this point, your cat already snapped, halt the cleaning session and do the other ear next time.
Check your cat's ears once every week. Call your veterinarian if you smell or see anything out of the ordinary. Unless you see apparent signs of debris, it's not required to clean your feline's ears. For the majority of cats, once every few months is enough.
Ear Infections in Cats (Otitis Externa)
Infections in the external ear canal or the outer ear caused by bacteria and yeast are more common in dogs than cats. A common cause of this is in cats is ear mite infestation. Ear infections can cause pain and discomfort in cats. Additionally, the inner ear canals are sensitive.
Advantage of Cleaning Cat Ears
Cleaning your cat's ears is not just for the looks. It also minimizes the threat of infection. Ear infections can be symptoms of other health problems, so do not think twice about calling your vet.
For any home treatments, the safety and security of your cat are of utmost importance. If you're uncomfortable to clean your cat's ears, contact your veterinarian. They will help you run through the steps and might even give you some tutorials! Develop your self-confidence as a pet cat parent by knowing how to clean your cat's ears properly.
How about you? How do you clean your cat's ears? Please share them with us!

